AnyDesk Quick Start Guide: Installation, License Activation, Unattended Access, and More
Quick Start Guide
This guide covers the key steps to effectively navigate AnyDesk. From installing the AnyDesk client to activating your license, setting up Unattended Access, creating your first connection, managing Address Books, and more, we’ve got you covered.
Basic setup | Set Up Unattended Access | How to Start a Session | Client & Session Management | Address Book | Advanced Setup
For a quick start, read our Getting started with AnyDesk guide or watch the video tutorial.
Basic setup
Recommended for individual users or small companies.
Initial Setup
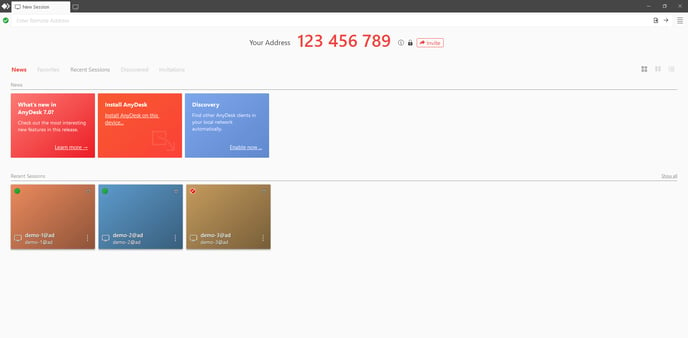
- Download and install AnyDesk on your device. You will find the installation tile in the Main Window.
Registration
Note: Only outgoing clients that initiate connections to other AnyDesk clients for commercial use need to be registered to an AnyDesk license. Incoming AnyDesk clients that only accept and reject connections do not need to be registered to a license key. See Licensing and Professional vs. Personal for more information.
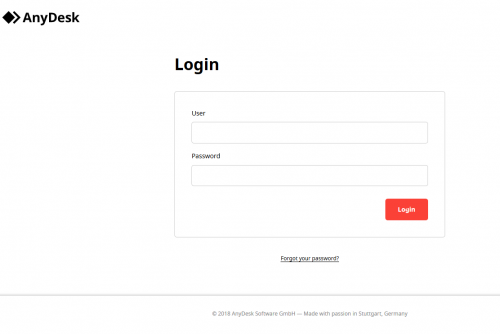
- After purchasing an AnyDesk license, you will receive login credentials to your my.anydesk.com customer portal. Use those to log in to my.anydesk.com.
Tip: If you have signed up for a trial or have purchased AnyDesk but still have not received your my.anydesk.com login credentials, please refer to our FAQ.
- In the License tab of your my.anydesk.com customer portal, you will find your license key. Make a copy of that license key.

- On the AnyDesk client you wish to register to your account, go to the Main Menu and click “Change license key”.

- Then paste the copy of your license key in the “Change License Key” field.

- After clicking “Register License Key”, your license will be displayed under “Current License”.
Set Up Unattended Access
AnyDesk provides the ability to set an unattended password on the remote client so a user does not need to be present on the remote end to connect to it.
See Unattended Access.
-
Go to Settings > Security > Unlock Security Settings.
-
Enable “Enable unattended access” (pre-AnyDesk 7) or select the desired Permission Profile and set up the desired unattended access password.

- Enable or disable “Allow other computers to save login information for this computer” to allow or disallow connecting clients from “saving” the unattended access password.
How to Start a Session
- The remote user provides their AnyDesk-ID or Alias.
- On the local device, enter the ID/Alias of the remote client you wish to connect to in the “Remote Desk” field and request a session by pressing “Enter/Return” on the keyboard or clicking “Connect”.
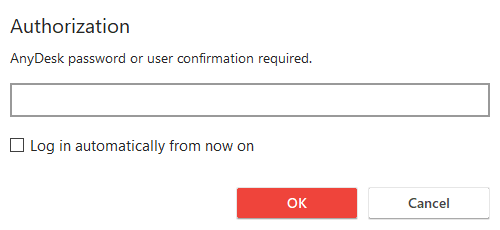
- After requesting the connection, the unattended access password dialog appears if it has been set up on the remote client. The local user can enter the unattended access password of the remote client to start the session or wait for the user on the remote end to accept the connection manually.
Client and Session Management
The web interface in the my.anydesk.com customer portal allows the user to manage the license and registered clients. Professional and Power license users also have access to the session history as well as our powerful custom client generator which allows them to create a modified AnyDesk client for their specific purposes. More information can be found on our my.anydesk.com article.
- Set/change Aliases
- Reset the license key to keep unwanted users from registering
- View/terminate active sessions
- Remove clients
Address Book
More information about the Address Book can be found here.
- Add users
- Set tags to filter contacts
- Drag and drop contacts from Discovery/Recent Sessions/Favorites/another Address Book to the Address Book
- Add a tag to multiple contacts
- Search through all Address Books
Advanced Setup
This section describes more advanced setup options available with AnyDesk.
Custom Client
More information about our custom client generator can be found here.
REST-API
Provides the interface to integrate AnyDesk with CRM or ERP systems.
Deployment
Caution: When making an image containing AnyDesk, please be sure that the AnyDesk configuration files have been deleted. If this step is skipped, every single device that uses that image will have the same AnyDesk-ID which can lead to connection and security issues. For more information, please see Cloned Operating Systems.
If you ever have any questions regarding the deployment of AnyDesk, please do not hesitate to contact our Support team through your my.anydesk.com customer portal.
AnyDesk can be deployed via device management tools or batch script. AnyDesk also provides command-line interface-based commands for Windows, macOS, and Linux.
Note: While we offer MSI and PKG installer packages in the custom client generator, AnyDesk cannot support the deployment of these packages with third-party device management tools. Please contact the vendors of these third-party services for instructions on how to deploy third-party packages.
Installation and Supported Operating Systems
See Installation and Supported Operating Systems.
- Published at


