How to Create a Custom AnyDesk Client for Your Organization's Needs | Step-by-Step Guide
How to Create a Tailored AnyDesk Client for Your Needs
If you hold a Standard, Advanced, or Ultimate (Cloud) license, you have the opportunity to personalize your own AnyDesk client to perfectly fit your organization’s requirements.
This guide walks you through the process of crafting a customized AnyDesk client using the my.anydesk II management console, a versatile tool that allows you to generate and install your tailored client on multiple devices.
Overview
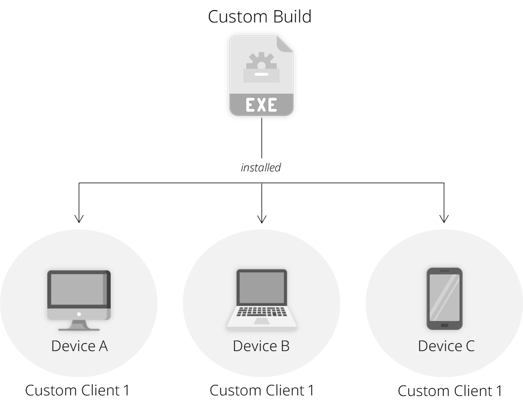
Custom clients, or Builds, are personalized AnyDesk applications generated using the Custom Client Generator and can be installed on one or multiple devices within your organization.
💡 For further insights into Builds, refer to this informative article.
How to Create a Custom Build
When creating a custom build in my.anydesk II, you can customize the following preferences:
-
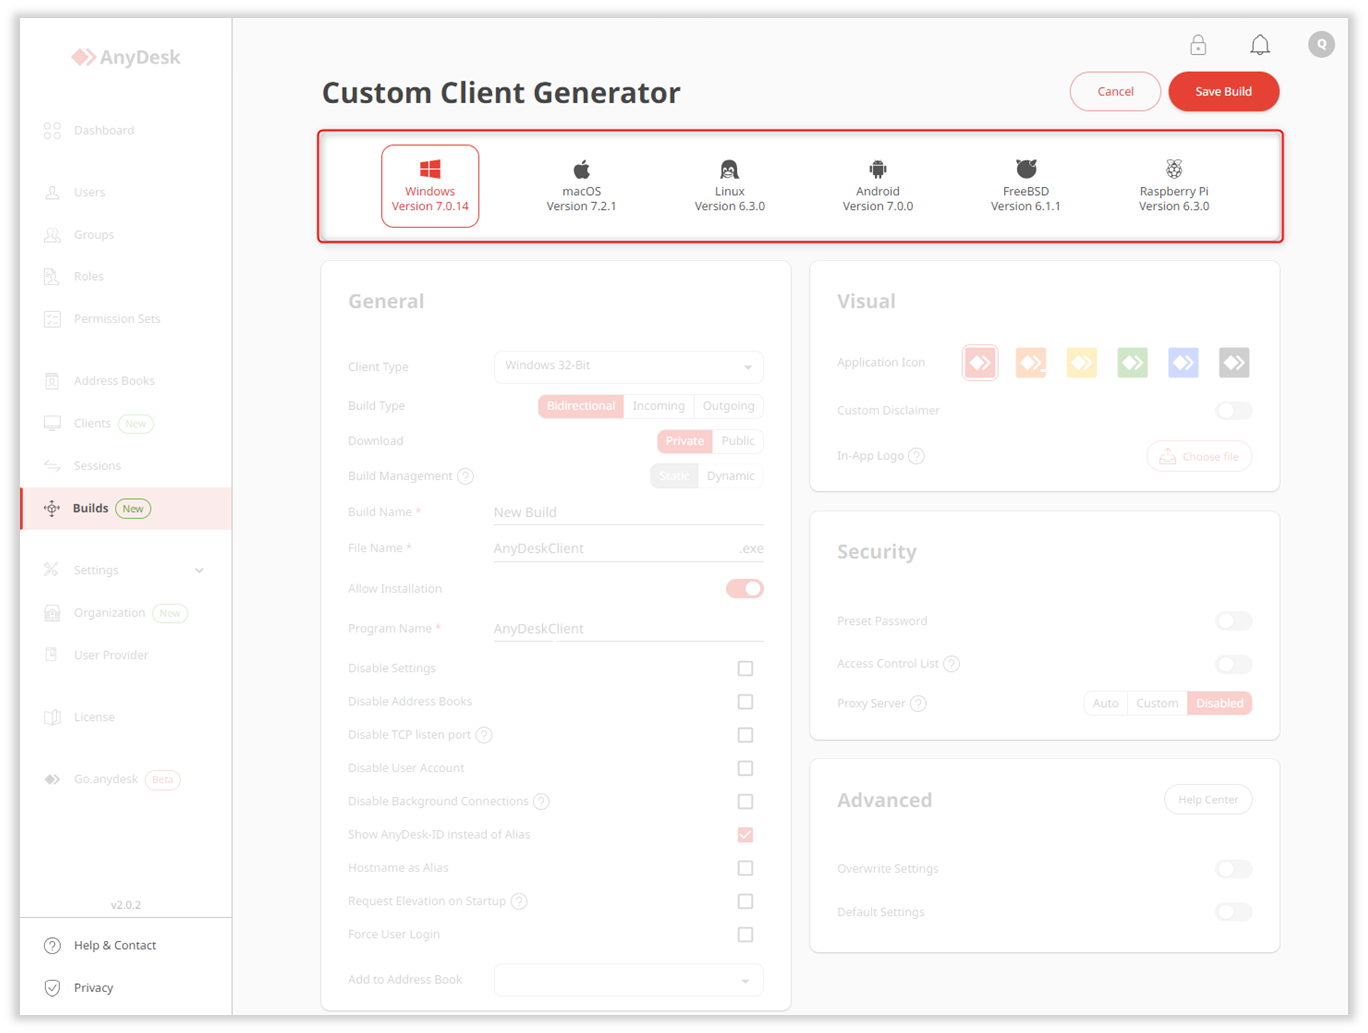
Operating system for the build
-
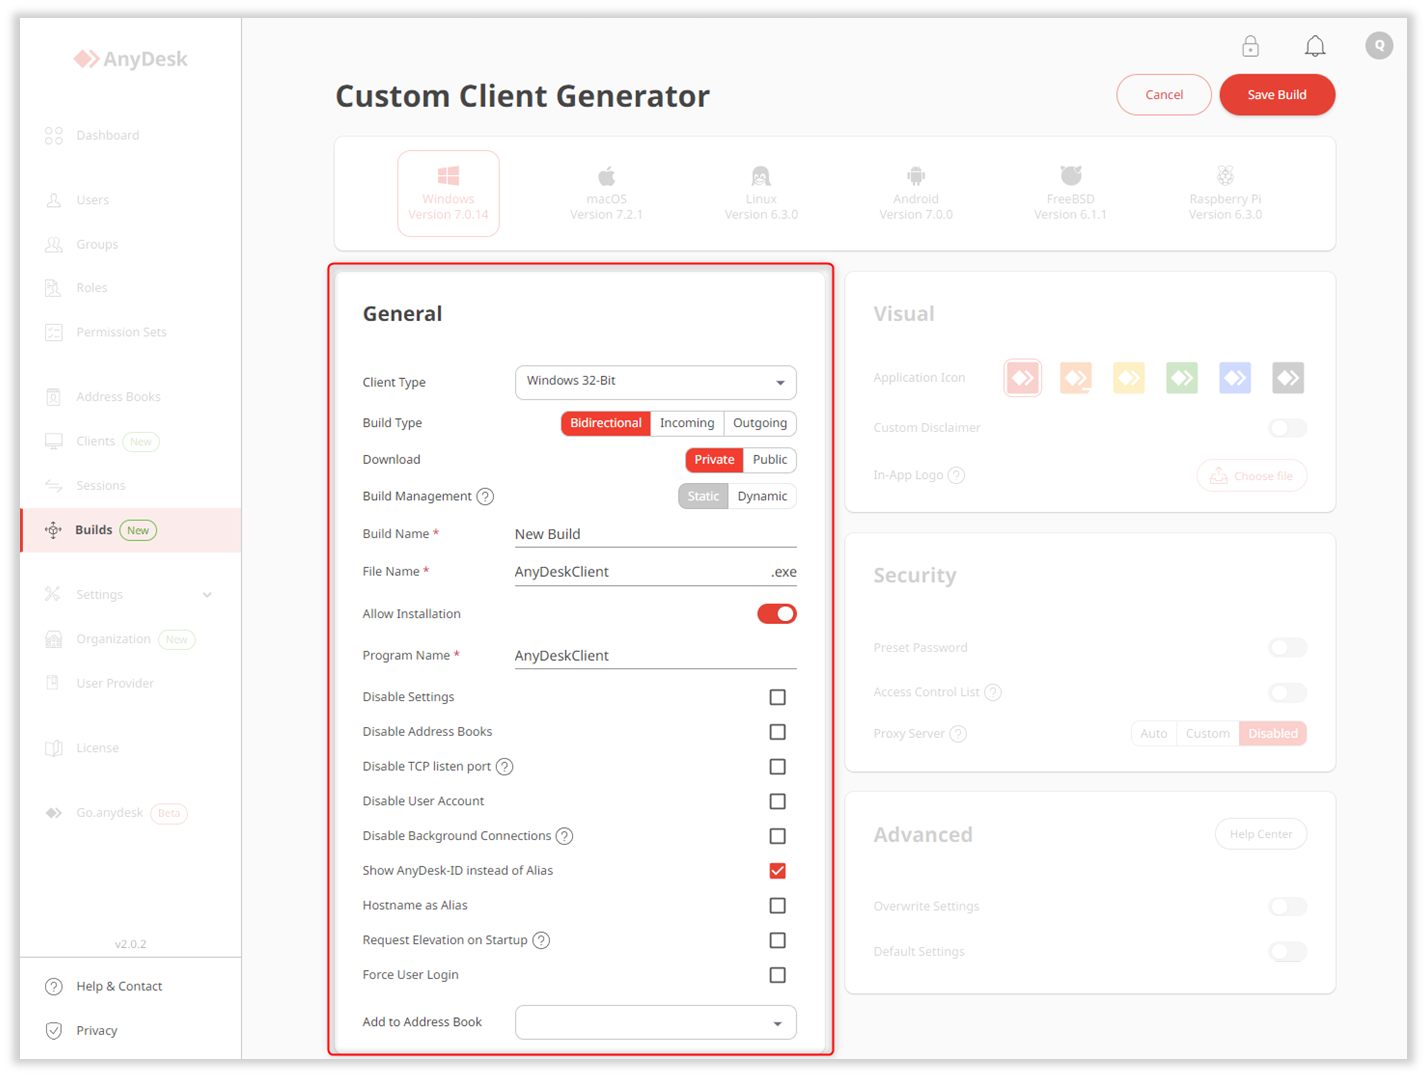
General - set build name and type, download type, build management type, and more.
-
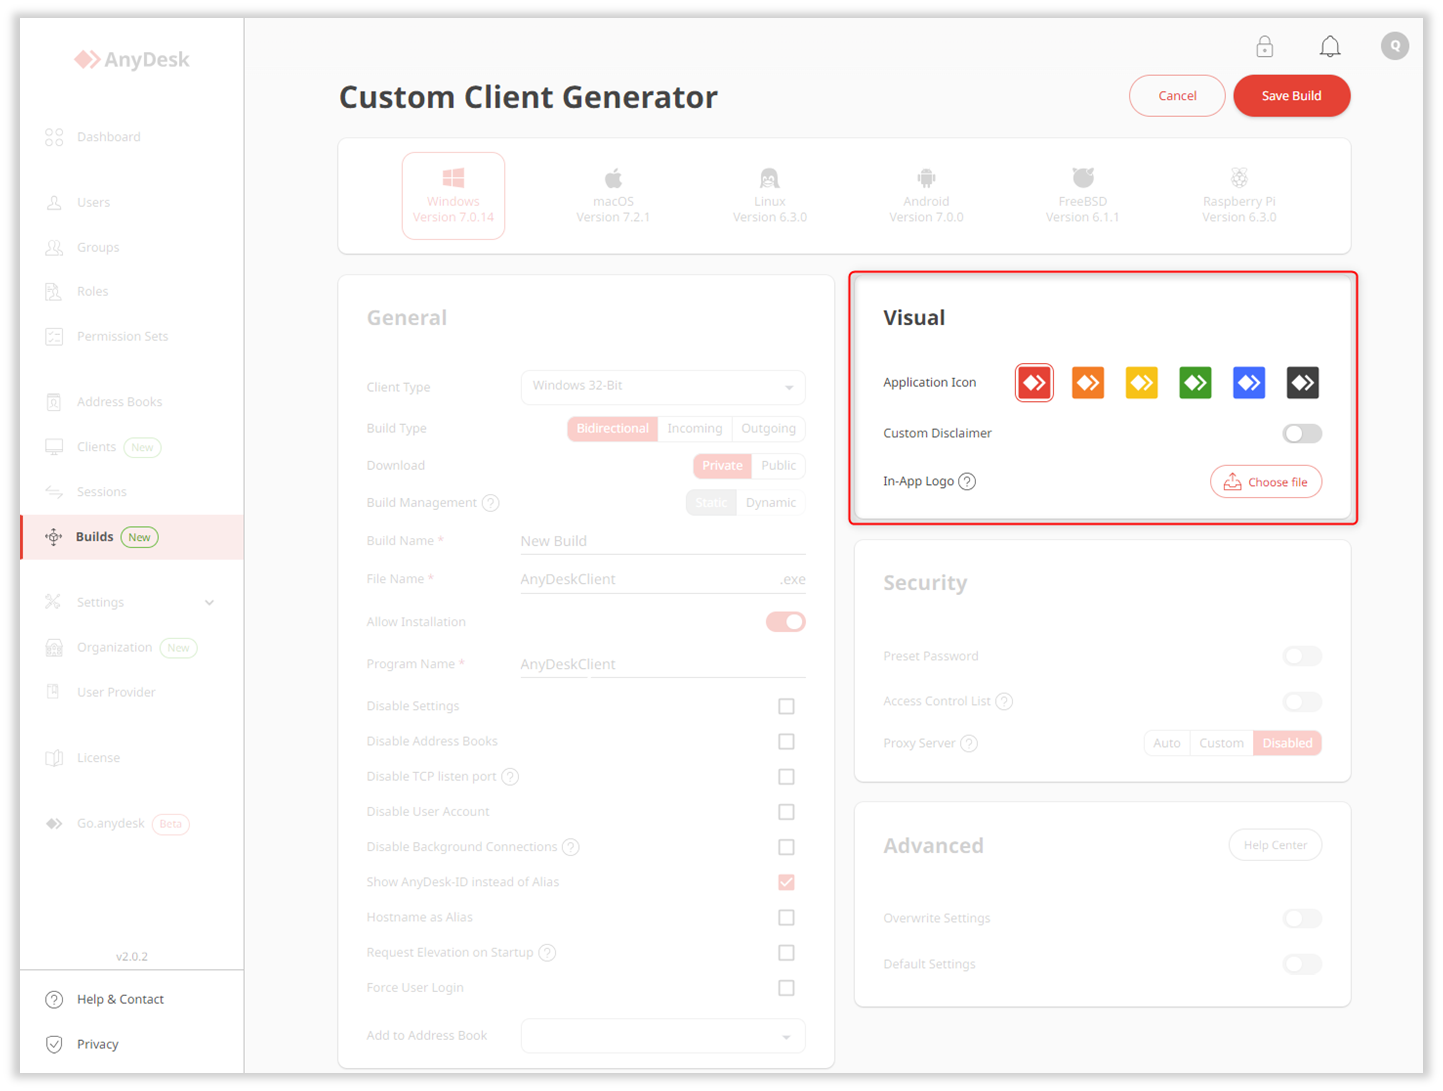
Visual - select the icon, set the disclaimer, and in-app logo.
-
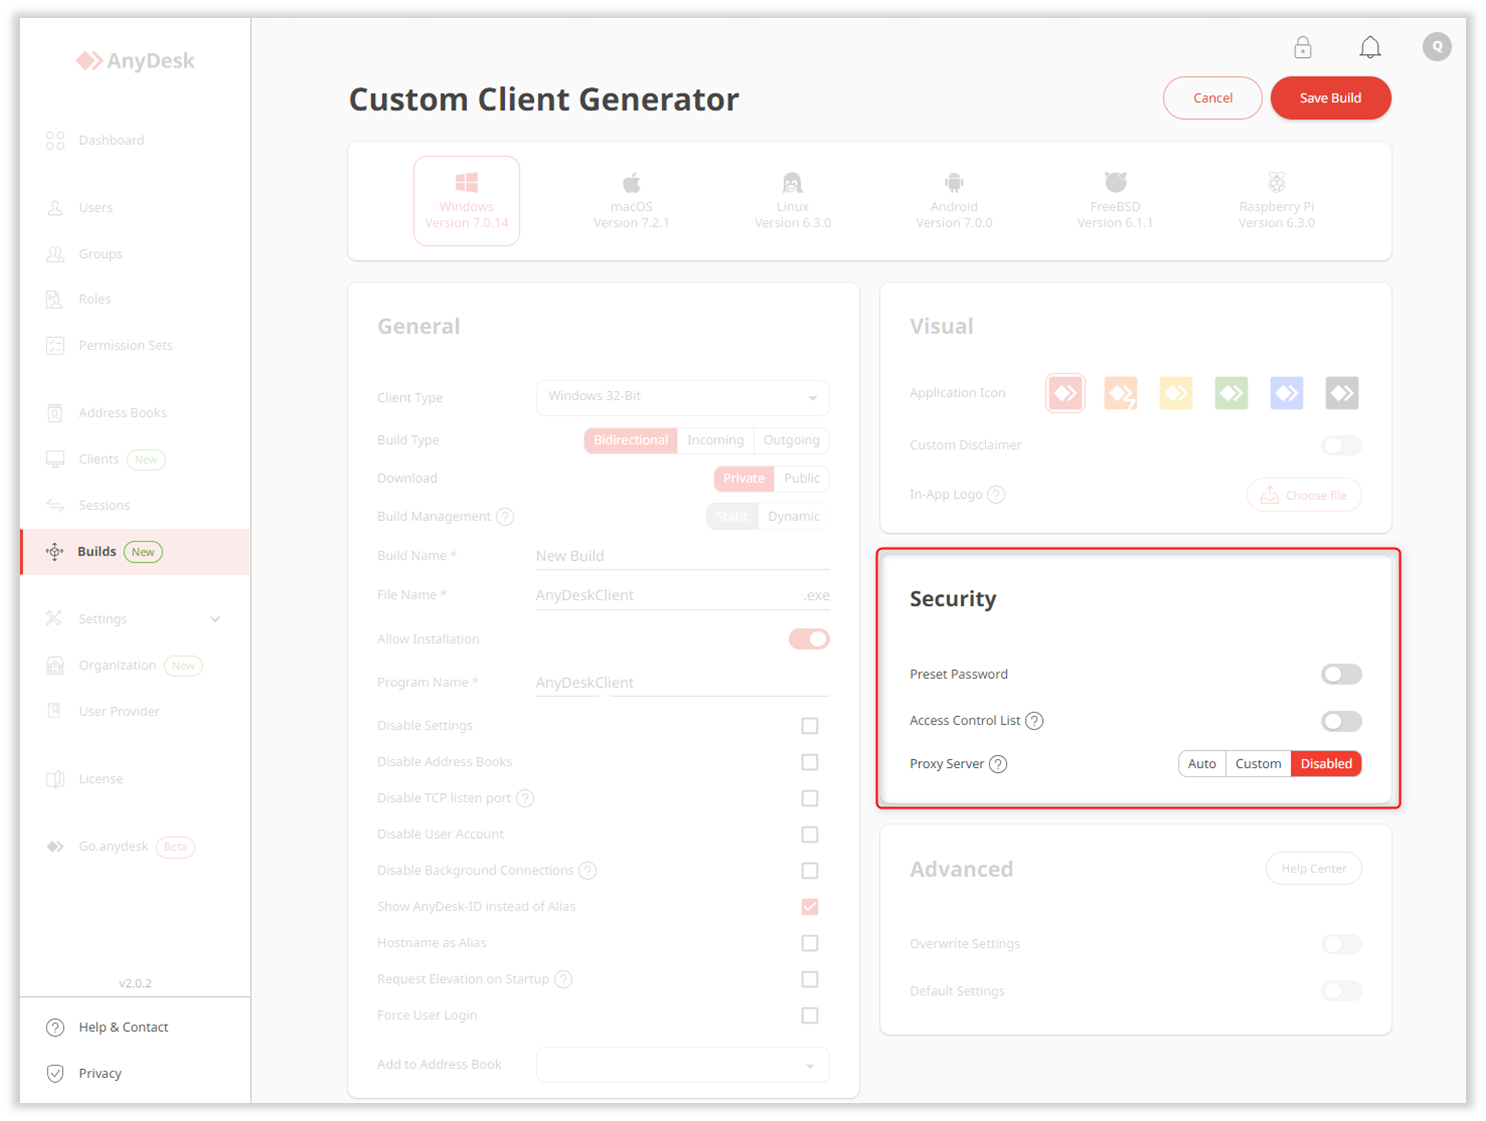
Security - configure Unattended Access password, access control list, and proxy server settings.
-
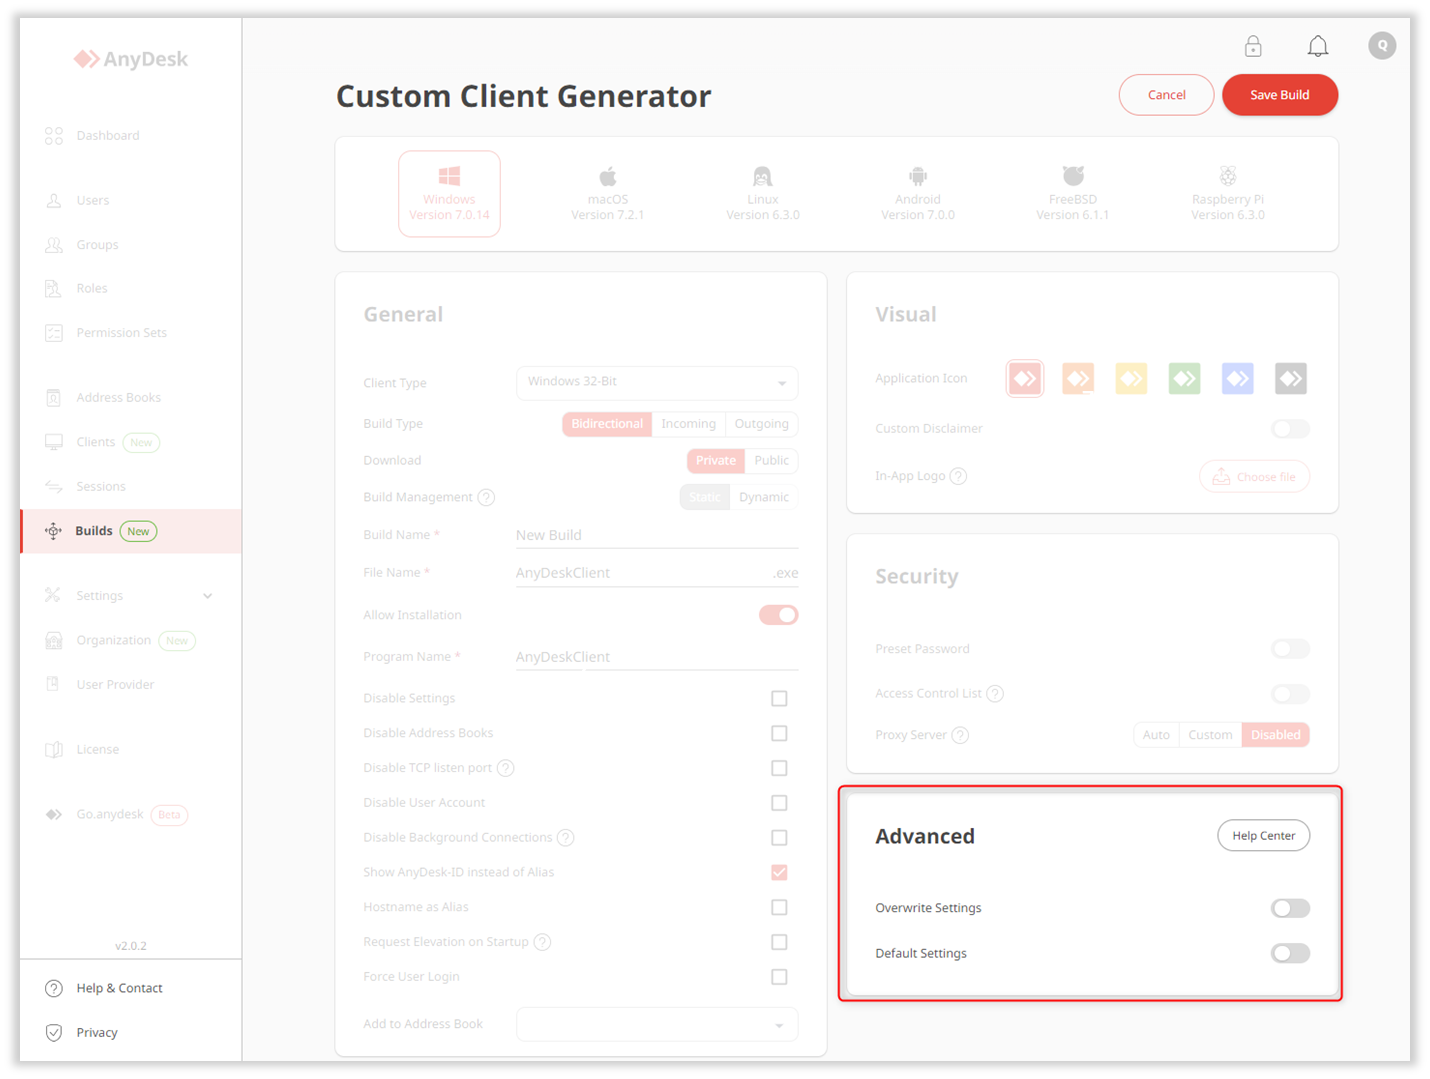
Advanced - customize the build further using key-value pairs.
-
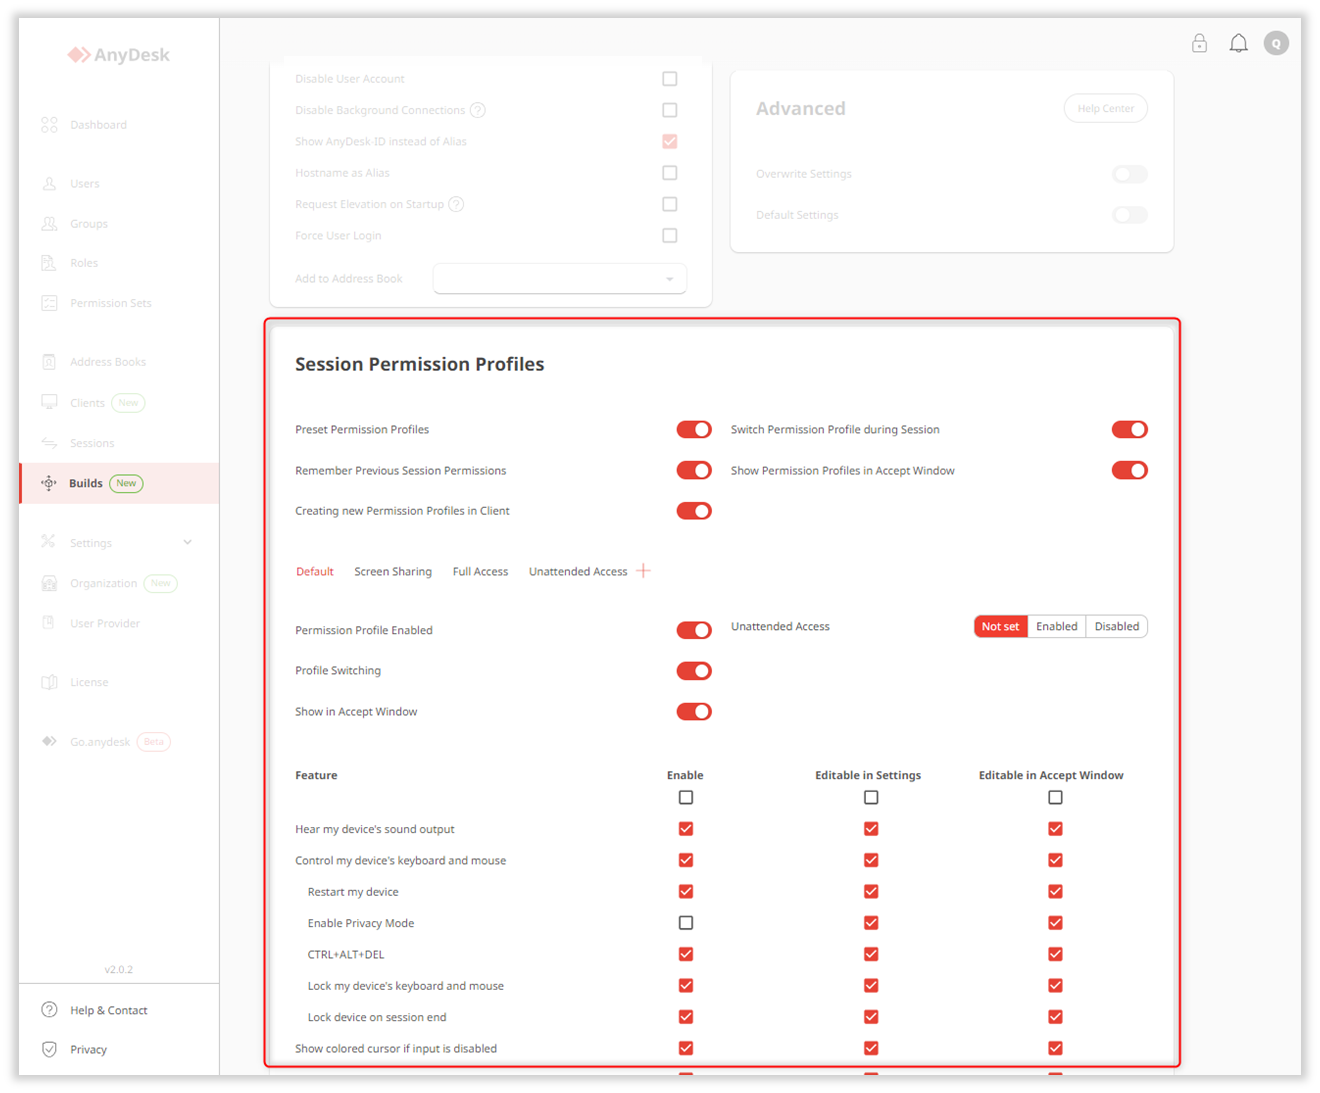
Session Permission Profiles - preset permission profiles for user sessions.
For the detailed step-by-step guide on creating a custom build, visit my.anydesk II and follow the instructions under the Builds section.
Finally, save your custom client configuration under a unique build name for easy access in the future.
- Published at

