Title: "Complete Guide to AnyDesk for Android and ChromeOS: System Requirements, Features, and Troubleshooting"
AnyDesk for Android/ChromeOS
Table of Contents
The Android remote access app offers a mobile solution for remote desktop connectivity and control via Android devices.
 |
 |
 |
|---|
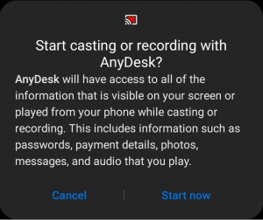
Warning: As of Android 10 and depending on the smartphone provider, users will receive an Android security prompt regarding casting when connecting to the Android device. This message may require manual acceptance before the connecting user establishes the session.
System Requirements
Warning: Due to vendor limitations, remote control of ChromeOS devices is not supported at this time.
- Remote controlling an Android device requires Android 7.0 or newer.
Due to the variety of Android ecosystems, downloading and installing a control plugin may be necessary. If required, the control plugins are downloaded automatically when starting AnyDesk for the first time after receiving user confirmation.
Alternatively, they can manually be downloaded and installed from the Google Play Store.
Caution: For some devices, it may be necessary to activate the control plugin in the Android Accessibility settings.
Assign License Key
Due to vendor restrictions, it is currently not possible to assign a license key to the standard AnyDesk for Android application downloaded from the Google Play Store without the help of a third-party mobile device management tool.
However, one way to have a licensed AnyDesk client on your Android device is to use a custom client. To assign the license key, create a custom Android client with the option “Assign to license” enabled.
Afterward, download and install the APK of the custom client onto the Android device and an application labeled “AnyDesk custom” will be visible that is registered to your account.
More information about our custom client generator can be found in Customize AnyDesk.
Settings
Please see Settings.
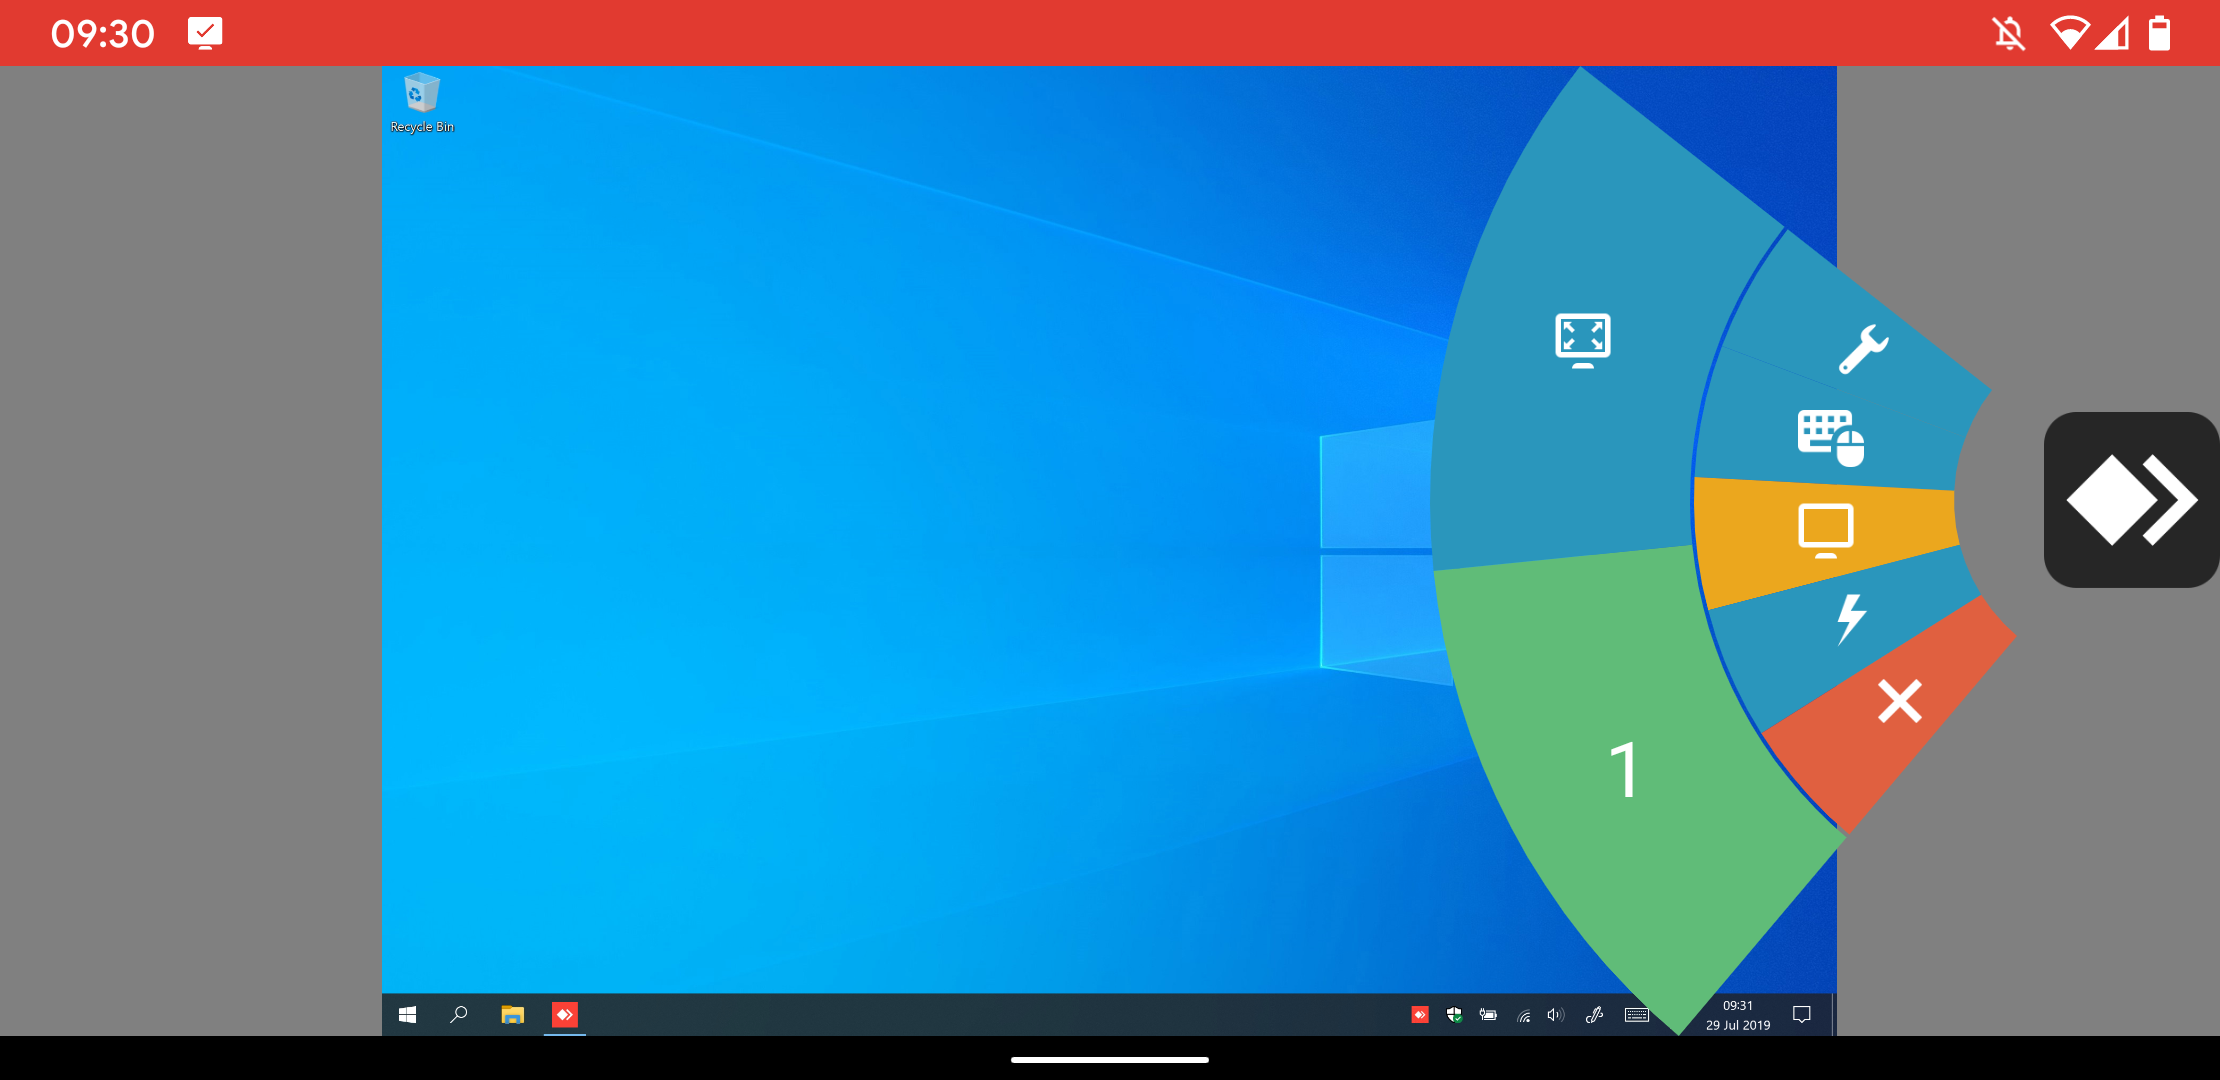
Session Menu
During a session, the Session Menu can be shown by holding the AnyDesk logo.
This menu can help users control all aspects of their session, such as changing the transmission quality and disconnecting the session.
To move the location of the AnyDesk logo, double-tap it, then drag it to the desired location.
Session Settings
Within the session settings, users can configure:
- Input
- Control ability enablement
- Synchronized clipboard between Android and remote device
- Remote user interference prevention
- Input method selection
- Display
- Transmission quality
- Remote cursor visibility
- Display switch with remote cursor movement
- Screen privacy mode enablement
- Audio
- Sound transmission enablement
- Security
- Remote account lock on session end
-
VPN
- VPN settings configuration
- VPN start and stop
Input settings
In this menu, different keyboards and mouse input methods can be changed.
- Virtual special keyboard for operating-system shortcuts
- Standard virtual keyboard
- Direct mouse input switch
- Touchpad mode switch
- Touch-to-touch mode switch (default for Android to Android sessions)
Select remote monitor
If the connected device has multiple displays, users can switch between the displays and enable/disable fullscreen mode on Android.
Actions
The Actions menu provides additional features for the user such as:
- Screenshot capture
- File transfer to the remote device
- File download from the remote device
- Request Elevation
- CTRL+ALT+DEL command to the remote Windows device
- Start/Stop VPN
- Screen privacy mode enablement
- Session recording start and stop
File Transfer
Please see File Manager and File Transfer.
Address Book
Please see Address Book.
Gestures
When using mouse and touchpad input modes, the following gestures are supported:
- Single-finger swipe to move the cursor
- Two-finger pinch to zoom in and out of the remote view
- Three-finger swipe to scroll
- Single-finger tap for left mouse click
- Single-finger hold for right mouse click
- Three-finger tap for middle mouse click
Hotkeys
When connecting to an Android device from Windows, AnyDesk offers keyboard shortcuts to Android navigation buttons. To invoke a command, hold the CTRL+ALT+SHIFT keys and press one of the following keys.
If connecting from AnyDesk 7.1.0 for Windows and newer to AnyDesk 7.0.0 for Android and newer:
| Key | Function |
|---|---|
| F5 | Back |
| F6 | Home |
| F7 | Recent apps |
| F8 | Menu of current app |
| F9 | Power |
| F11 | Volume Down |
| F12 | Volume Up |
| End | OK |
Control Plugins
Control plugins facilitate the control of Android devices using the AnyDesk for Android application.
A full list of control plugins for the AnyDesk for Android application can be found at Android Control Plugins. However, we recommend using the “Plugin available” prompt when starting up AnyDesk or going to Menu > About AnyDesk. This ensures the selection of the best control plugin for your device and provides additional activation steps.
Mobile Device Management
As of version 6.1.10, the AnyDesk Android app can be integrated and customized through third-party MDM solutions such as Microsoft Intune.
Note: This is currently only available for the standard AnyDesk client available through the Android Google Play Store.
The MDM solution should then automatically detect and display all available options with short descriptions of how they work and what they do.
Using AnyDesk with Managed Profiles (Work Profile)
Steps to make the plugin AD1 ready for AnyDesk connections to a managed profile. The order is important.
- Ensure the plugin is installed in the main profile and in the managed profile.
- Activate the plugin in the accessibility settings.
- Open the plugin inside the main profile, click on the overflow button, and configure the plugin.
Tip: If the above does not work, try it from the managed profile. You might need to allow cross-profile communication in your MDM solution.
Custom Client
Installation
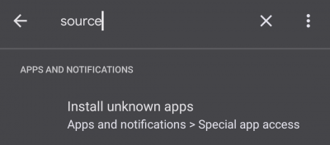
AnyDesk is available as a Custom Client. This Custom Client APK is available for installation. To install it, allow the installation of untrusted sources. This should be done for specific apps, such as file explorers, and not for web browser applications.
Allow Installation From Untrusted Sources
Note: Setting and menu names may differ depending on the Android version and vendor. The following examples are based on the original Google Android environment.
 |
.png?width=212&name=212px-Android_unknown_allowed%20(1).png) |
|---|
Custom Package Name
To upload the custom AnyDesk client to a private app store for easy deployment across managed devices, set a custom package name by enabling “Android Package Name Suffix” in the custom client configuration. Enter a custom package suffix that fulfills the specified requirements. After clicking save, upload the custom Android client to your managed app store.
Note: If the custom package suffix is too generic, it may be taken by someone else.
Troubleshooting
Plugin cannot be activated
Due to changes by some vendors on Android, a restart of the Android device may be required for the control plugin to be functional.
Control Plugin with Android TV
Warning: Please note that the use of this workaround is without warranty from AnyDesk and can violate the warranty of your device.
If the vendor for Android/Fire TV device has disabled the Accessibility settings, the AnyDesk control plugin cannot be activated. AnyDesk can then be used for remote view only. A possible workaround is to use the adb shell. The plugin can be enabled using the following command:
adb shell settings put secure enabled_accessibility_services com.anydesk.adcontrol.ad1/com.anydesk.adcontrol.AccService
More information about adb can be found at the official adb documentation.
Screen Recording Dialog (Android 10+)
Warning: Please note that the use of this workaround is without warranty from AnyDesk and can violate the warranty of your device.
Starting with Android 10 and newer, Android forces accepting a Dialog for Screen recording. A workaround to bypass the request is the following adb shell command:
Standard Client:
adb shell appops set com.anydesk.anydeskandroid PROJECT_MEDIA allow
Custom Client:
adb shell appops set com.anydesk.anydeskandroid.custom PROJECT_MEDIA allow
Android Battery Optimization
Android’s Battery Optimization feature can automatically disable applications running in the background to preserve the battery. However, if this feature is activated, it can cause issues with AnyDesk. As a result, it is recommended to configure an exception for AnyDesk within the Battery Optimization settings.
For instructions on deactivating this feature or placing AnyDesk on the exception list, please refer to your device’s manual. Below, we have provided instructions for Google Pixel phones and Motorola devices:
Google Pixel
- Open the phone’s Settings app
- Navigate to Apps > AnyDesk > Battery
- Select “Unrestricted”
- Repeat Steps 2-3 for “AnyDesk plugin”
Motorola
- Open the phone’s Settings app
- Navigate to Battery > Battery optimization
- Tap on “Not optimized”, then “All Apps”,
- Locate “AnyDesk” in the resulting list and tap on “Don’t Optimize”
- Repeat Steps 2-4 for “AnyDesk plugin”
Send Support Information
If encountering errors or a crash on AnyDesk for Android, please send us the trace files as well as a description of the issue. To do so, please:
- While in the main AnyDesk window, open the menu
- Select “About AnyDesk”
- Select “Send Support Information”
- Describe the issue in the given field and tap “Send Email”.
Android API
AnyDesk provides an API for Android similar to the Command Line Interface on Windows.
Note: Access to API is for system apps only. For detailed documentation, please contact us.
API Features
Returns:
- Version
- Connection status
- ID
- Alias
- User name.
Checks:
- If an unattended access password is active
- If it ever had an incoming session
- If there is a custom user image
Sets:
- the unattended access password
- the connection behavior
- The Discovery status
- the user name
- the custom user image
- Published at